How to Adjust Composite Door Hinges: A Step-by-Step Guide

This post contains affiliate links from Amazon. As an Amazon Associate, we earn a small commission on qualifying purchases made through these links, at no extra cost to you.
Adjusting composite door hinges is a straightforward task that can rectify common door issues such as sticking, misalignment, or gaps. Composite doors combine materials like PVC, wood, insulating foam, and GRP to provide durability, thermal efficiency, and aesthetic appeal. Yet over time, even the sturdiest doors can require some tweaking due to natural settling or frequent usage, making hinge adjustments a necessary skill for homeowners.
To ensure smooth operation, it’s essential to get to grips with the types of hinges used on your composite door and the tools you’ll need. This may include screwdrivers, Allen keys, or spanners, depending on the specific hinge design. Before starting adjustments, it is critical to conduct initial preparations, which involve inspecting the hinges for signs of wear or damage. Once you have made the correct adjustments, regular maintenance such as lubrication can help prolong the life and functionality of your door.
Key Takeaways
- Proper hinge adjustment can resolve common door issues.
- Identifying the hinge type and gathering the correct tools are crucial steps.
- Regular maintenance following adjustments ensures lasting door performance.
Understanding Composite Doors
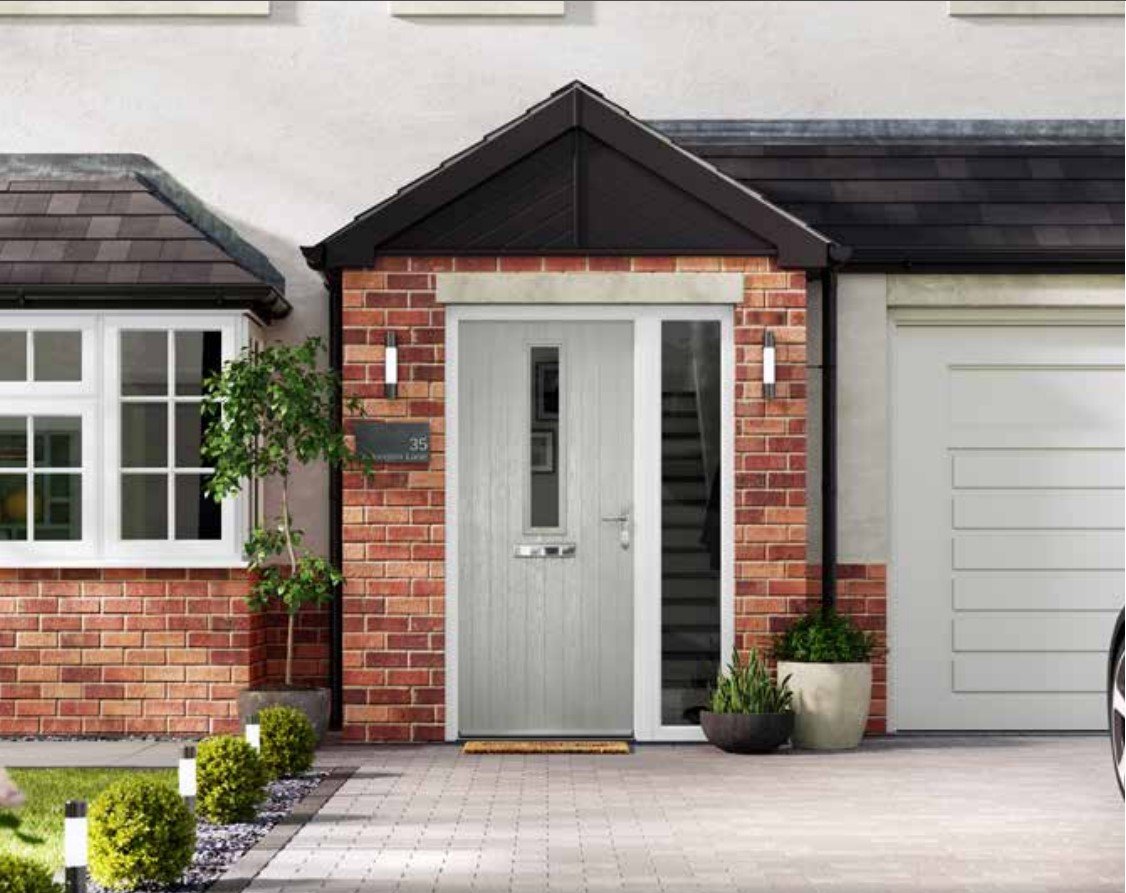
Composite doors are renowned for their quality, offering a durable and low maintenance alternative for your entryways. Made from a blend of materials including PVC, wood, insulating foam, and GRP (glass reinforced plastic), they are designed to provide superior strength and security.
Durability: The composition of these doors ensures they can withstand harsh weather conditions. Their robust nature means they are less prone to warping or cracking unlike traditional wooden doors.
Maintenance: You’ll find that composite doors require minimal upkeep. They do not need frequent painting or staining – a simple wipe with a damp cloth usually suffices.
Thermal Efficiency: With their insulating core, composite doors are able to retain heat, contributing to your home’s thermal efficiency. This can help you save on heating costs and keep your home comfortable.
Styles: Whatever your personal style or home’s architecture, there’s likely a composite door that suits your needs. From classic to contemporary, the range of door styles allows you to choose a new front door that not only enhances home security but also contributes to overall aesthetic appeal.
In summary, when you opt for a composite door, you invest in a blend of superior performance characteristics while benefiting from an array of design options to suit your taste.
If you’re looking for a new supply only composite door click here to design, price and order online
Tools Required for Hinge Adjustment
When preparing to adjust your composite door hinges, ensuring you have the right tools at your disposal is fundamental. Here is a list of the necessary items:
- Screwdriver: You’ll need both a Philips head screwdriver and a flat head screwdriver. These are essential for working with different types of hinge screws.
- Allen Key/Hex Key: A 5mm Allen key or hex key is often required, as many door hinges are designed with hexagonal socket screws.
- Hammer: Occasionally, you might need a gentle tap to realign components, so have a hammer on hand.
- Spirit Level: To check that the door is hanging straight after your adjustments, use a spirit level.
- Tape Measure: A tape measure might be useful for precise measurements if you need to track the adjustments made.
- Wrench: Some hinge adjustment processes may require a wrench to loosen or tighten the hardware.
Before starting the adjustment process, ensure that you’ve removed any plastic caps that may be covering the hinges. This is where your screwdriver can come into play, to gently pry them off if necessary.
Here’s a helpful table summarising the tools:
| Tool Type | Specific Tool | Purpose |
| Screwdriver | Philips & Flat Head | Loosening and tightening screws |
| Key | Allen/Hex (5mm) | Adjusting hexagonal socket screws |
| Hammer | Standard Hammer | Realignment of components |
| Level | Spirit Level | Ensuring door hangs correctly |
| Measuring | Tape Measure | Precision in adjustments |
| Wrench | Adjustable Wrench | Tightening hardware |
With these tools ready, you are now prepared to make precise adjustments to ensure that your door functions smoothly and securely.
Identifying Composite Door Hinge Types
When adjusting your composite door hinges, the first step is to correctly identify the type of hinge installed. Composite doors typically use two main hinge types: T hinges and butt hinges. Each has unique adjustment mechanisms and is suited for specific door styles.
T Hinges
T hinges are distinguished by their T-shaped design and are commonly found on traditional or cottage-style composite doors. They provide a classic aesthetic appeal and have a visible screw fixing plate which makes them appear as part of the door’s decorative features.
- Design: T-shaped with a long cross section.
- Common Use: Traditional, decorative doors.
Butt Hinges
Butt hinges are the most common type of hinge used on composite doors due to their versatility and concealed fitting. These hinges are less noticeable and are designed to integrate seamlessly with the door, offering a clean and contemporary look.
- Design: Comprises two plates connected by a central cylinder.
- Feature: Concealed, adjustable screws for alignment.
Remember, correctly identifying the type of hinge ensures the right adjustment method is used, maintaining the door’s function and appearance.
Initial Preparations
Before adjusting your composite door hinges to ensure optimal functionality, it’s essential to perform some initial preparations. These steps will safeguard the door frame, ensure security, and maintain the integrity of the door.
Tools You’ll Need:
- Screwdriver or Allen key (size varies, check your hinges)
- Lubricating oil or silicone spray
Inspect the Area: Carefully check the door frame for any signs of humidity or moisture that could affect the wood and subsequent hinge adjustments. Precipitation and changing temperatures can warp or swell the frame, which must be considered prior to any modifications.
Clean the Hinges:
- Using a soft cloth, wipe down the hinges to remove any debris or dust.
- Examine the corners of the hinges for accumulated grime and clean thoroughly.
Security Considerations:
- Ensure the door is supported to prevent it from falling once the hinge screws are loosened – this is both a safety and security measure.
Assess Functionality: Pay careful attention to detail when evaluating the door’s current state. Notice if it sticks at the corners, drags at the bottom, or has a gap when closed. Each of these problems points towards different adjustments needed.
By adhering to these preparatory steps with measured precision, you will create a steady foundation for smoothly conducting the necessary adjustments to your composite door hinges.
Adjusting Hinge Alignment
When your composite door isn’t hanging correctly, it often results in uneven gaps or a door that doesn’t close properly. By adjusting the hinges, you can realign your door to sit flush within the frame and operate smoothly. This section will guide you through the precise steps to adjust the vertical, horizontal, and compression aspects of your door hinges.
Vertical Adjustment
To correct vertical misalignment, which is visible as an uneven gap along the top or bottom of your door:
- Locate the vertical adjustment screw on your hinge; this is normally set within the hinge itself or covered by a cap.
- Using either a screwdriver or an Allen key, turn the vertical adjustment screw:
- Clockwise to raise the door
- Anti-clockwise to lower the door
- Adjust each hinge equally to maintain balance.
Horizontal Adjustment
If the door appears too close or too far from the door jamb, thus causing a lateral misalignment, follow these steps:
- Find the horizontal adjustment screw, often protected by a plastic cap on the side of the hinge facing the door.
- Use a Philips screwdriver to adjust this screw:
- Turn clockwise to move the door closer to the jamb
- Turn anti-clockwise to move the door away from the jamb
- Check the door alignment after each adjustment to ensure gaps are even.
Compression Adjustment
Compression adjustment fine-tunes how tightly your door presses against the frame’s weather seal, crucial for insulation and security:
- The compression adjustment screw is typically located at the top or bottom of the hinge.
- To adjust, you usually need to use either a screwdriver or a spanner:
- Tighten the screw clockwise to increase compression, making the door fit more snugly against the frame.
- Loosen it anti-clockwise to decrease compression if the door is too tight and difficult to lock.
Correcting Common Door Issues
When approaching the task of adjusting composite door hinges, it’s vital to identify and tackle specific problems such as warping, sagging, and gaps. Accurate adjustment ensures the door operates smoothly and stays aligned.
Resolving Warping
Warping occurs when the door panel itself has become twisted or distorted, often due to temperature fluctuations. If your door shows signs of warp, start by checking the hinges for alignment. Adjust the mitres on the hinge to realign the door. Loosen the screws slightly, reposition the door as needed, and then retighten to secure it in the correct alignment.
- Mitres Adjustment:
- Slightly loosen hinge screws.
- Adjust door position.
- Retighten screws to set alignment.
Fixing Sagging
Sagging is commonly due to hinge wear or loosening which affects the door’s balance. Addressing this involves:
- Hinge Height Adjustment:
| Step | Action | Tool Needed |
| 1 | Identify sagging corner | None |
| 2 | Adjust corresponding hinge(s) | Screwdriver or Allen key |
| 3 | Test door movement | None |
Loosen the screws on the lower hinge to lift the sagging corner, or adjust the upper hinge if the top corner of the door is sagging. After the hinges are adjusted, verify that the door swings without scraping the frame or floor.
Dealing with Gaps
Gaps between the door and frame not only affect the door’s aesthetics but can also compromise energy efficiency and security. Eliminate gaps by realigning the door within the frame:
- Alignment Process:
- Loosen the screws on the hinge that’s diagonal to the gap.
- Push or pull the door slightly to reduce the gap.
- Tighten the screws to secure the door in its new position.
Be cautious not to over-tighten the screws, as this may strip the threads or damage the hinge. “‘”;
Finishing Touches and Maintenance
After successfully adjusting your composite door hinges, it’s essential to apply finishing touches and conduct routine maintenance to ensure the longevity of your door’s performance.
Finishing Touches:
- Once adjustments are complete, test the door’s operation. It should open and close smoothly, without any creaking or resistance.
- Verify that the door seals properly against the frame, ensuring there are no gaps for drafts.
- With a careful attention to detail, tighten any screws that were loosened during the adjustment process to provide a secure fit.
Maintenance Tips:
- Regular maintenance is key. Perform a bi-annual inspection to check the hinges for any wear or damage.
- Clean the hinge areas gently with a soft cloth, avoiding harsh chemicals that can damage the finish.
| Maintenance Task | Frequency | Notes |
| Lubricate hinges | Every 6 months | Use silicone spray or oil |
| Visual inspection | Every 6 months | Check for rust or mechanical wear |
| Tighten screws | As needed | Only if looseness is observed |
| Adjust door closer | After seasonal changes | To counteract weather-related changes |
If you continue to experience issues with your door, it may be time to consult with a professional installer to assess whether there is a need to re-hang the door. It is crucial that these operations are carried out by a professional to avoid damaging the door and to ensure your safety.
Remember, maintaining your composite door hinges will greatly reduce the need for future adjustments, saving you both time and effort.
Choosing Professional Assistance
When adjusting your composite door hinges, you may decide to seek the help of a professional, especially if you lack the confidence or tools to tackle the task yourself. Choosing to work with an expert installer ensures that your door is adjusted accurately and functions as intended.
- Expertise: A professional will have the necessary skills and experience. They can diagnose issues quickly and understand the nuances of different hinge types.
- Tools: Professionals come equipped with the right tools for the job, which might include specialised spanners or torque wrenches that a typical household toolkit might not have.
- Safety: Door adjustment can be tricky and, in some cases, risky. A professional will ensure that all adjustments are made safely, reducing the risk of damage to the door and injury to yourself.
Using an online door designer or consulting with hardware specialists can also be beneficial in understanding the complexity of the job ahead. They could offer insights or suggestions on whether to proceed on your own or hire a professional. Sometimes, the design of the hinge might require specific adjustments or replacements that only a professional might have access to.
To locate a reliable installer, consider the following:
- Recommendations: Seek recommendations from friends or check online reviews.
- Certifications: Look for installers with relevant certifications or memberships to trade associations.
- Quotes: Get multiple quotes to compare pricing and services offered.
Remember, while DIY can be a cost-saving solution, the precision and guarantee that come with professional service are invaluable, particularly with something as vital as the security and functionality of your door.
Additional Tips for Enhanced Functionality
When adjusting your composite front door hinges, paying careful attention to detail is crucial for maintaining both functionality and security. Here’s how to do it effectively:
- Check the Gap: Ensure the gap between the door and the frame is even all around. An inconsistent gap can not only affect the functionality of the door but also compromise the security. Aim for a uniform gap to achieve a snug fit that’s not too tight nor too loose.
- Lubrication: Periodically lubricate the hinges with a silicone spray to maintain smooth movement. This can prevent wear and reduces the risk of needing frequent adjustments.
- Tightening Screws: Tighten any loose screws on the hinges. Be careful not to overtighten, as this can strip the screws and reduce their hold over time.
- Adjusting the Latch: For optimal security, the latch should engage fully with the keeper. If misaligned, the door may not lock properly.
- Bottom Hinge Load: The bottom hinge often carries the most weight. Regularly check and adjust this hinge to prevent any sagging or misalignment.
| Hinge Component | Check for | Adjustment Action |
| Hinge pins | Alignment | Tighten or reposition |
| Lateral adjustment | Horizontal alignment | Turn adjustment screw |
| Vertical adjustment | Even gap | Adjust height |
Remember, regular maintenance can vastly improve your door’s functionality and security. By applying these tips, your composite door should operate smoothly and securely.
Frequently Asked Questions
When adjusting the hinges on your composite door, it’s crucial to follow precise procedures and use recommended tools to achieve a snug fit and seamless operation.
To prevent your door from catching on the frame, begin by opening the door fully to access the hinges. Inspect the hinges for wear or damage. If they are intact, use a screwdriver or Allen key to adjust the tension screws on the hinges, which typically involves small clockwise or counter-clockwise turns to align the door with the frame.
For adjusting Trojan 3D hinges, you won’t find a diagram here, but the process involves loosening the fixing screws slightly and then turning the horizontal, vertical, and lateral adjustment screws as needed. The horizontal adjuster aligns the door edge parallel to the frame, vertical adjusters correct the height, and lateral adjusters help with the compression against the seals.
What is the best method to rectify a composite door that keeps dropping?
To rectify a composite door that keeps dropping, first identify the hinge responsible. Use an Allen key to adjust the vertical alignment screw found on the hinge to raise the door. You might need to apply lubricant if the hinges are stiff and ensure all adjustments are made evenly to prevent further misalignment.
What tools are recommended for the adjustment of ERA composite door hinges?
The recommended tools for adjusting ERA composite door hinges include a set of Allen keys for the adjustment screws and a screwdriver for loosening and tightening the hinges. Ensure you have a range of sizes to fit the screws on your specific hinge model.
For maintenance, regularly check the tightness of hinge screws and adjust as necessary. Clean the hinges with a damp cloth and apply a silicone-based lubricant to moving parts. This keeps the movement smooth and prevents corrosion and wear.
Composite and uPVC doors may use flag hinges, butt hinges, or T-hinges. Flag hinges are adjustable in three dimensions, so they enable lateral, vertical, and depth adjustments. Butt hinges may offer limited adjustment, often with vertical and lateral adjustments. T-hinges are typically decorative, with fewer adjustment options, if any. Each type of hinge requires a specific method of adjustment to achieve an optimal fit and door operation.

Hello, I’m Keith Jones. I’m the author and head of content here of door and window guide. I’ve been in the window and door industry for over 10 years in the UK and North America. I’ve had quite a few roles during my career mainly in Worldwide sales. I’m now semi retired so I thought I’d put my knowledge to good use educating people about all they might need to know about door and window related topics.