How to Fit an Internal Door: A Step-by-Step Installation Guide
Fitting an internal door is a straightforward DIY project that can be accomplished with some basic tools and a methodical approach. Whether it’s for aesthetic updates, damage replacement, or functionality improvements, installing an internal door is a task that can transform the look and feel of a home. Proper preparation and ensuring safety are crucial steps before commencing the job. It involves carefully removing the existing door, prepping the frame, and making precise measurements.
The process of fitting a new door includes accurately cutting the door to size, attaching hinges, and ensuring that it swings smoothly without any obstructions. Attaching hardware such as door handles and latch mechanisms requires attention to detail, as these are the finishing touches that will affect the door’s operation. Following systematic instructions will result in a secure and well-fitted door that complements the interior space.
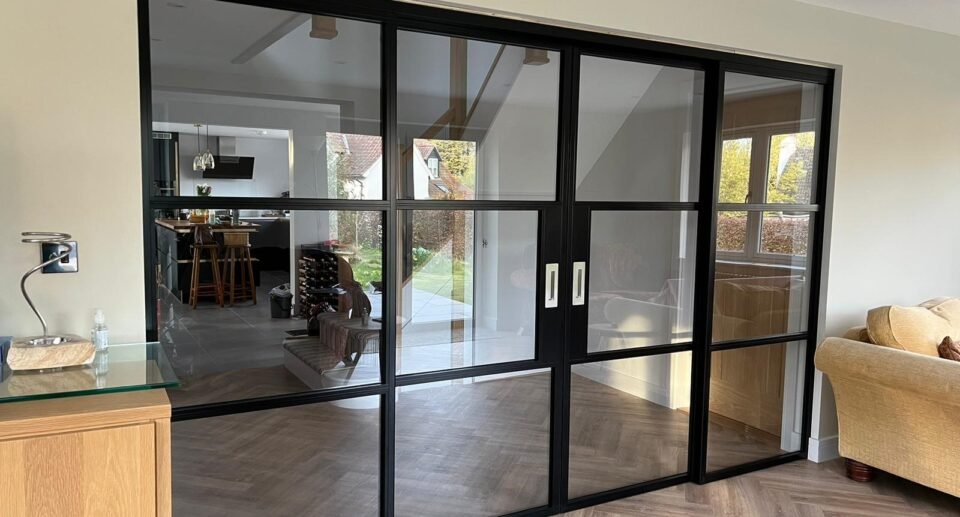
This guide is geared towards timber doors. Our favourite steel and aluminium doors are offered by Colin’s Sash Windows. Click here to see more details most of the measuring and installation steps are the same but the doors come pre hung in their frame with handles and locks installed.
Key Takeaways
- Adequate preparation ensures a smooth installation process.
- Accurate measurements are key to fitting the door correctly.
- Final fittings such as hinges and handles are vital for proper door function.
Preparation and Safety
When fitting an internal door, the initial and most critical steps involve meticulous preparation and adherence to safety protocols. Starting with accurate measurements and the correct tools lays the groundwork for a successful installation, while proper safety gear ensures the job is completed without harm.
Measuring Accurately
Accurate measurements are the foundation of fitting a new door correctly. You must measure the existing door frame’s width and height in three different places to allow for variances in size and ensure the new door will fit. A tape measure’s the tool of choice, and it is wise to record these measurements using a sharp pencil for precision. It’s also advisable for the new door to acclimatise to the room’s temperature and humidity before being hung.
Selecting the Right Tools and Materials
Choosing the right tools and materials is vital for a smooth installation. You will need the following:
- Tape measure: To take accurate measurements of the existing frame and new door
- Workbench: A stable surface for any sawing or planing
- Clamps: To secure the door when sawing or planing
- Plane: To shave off excess wood for a perfect fit
- Drill and Drill bits: For pre-drilling holes for hinges
- Circular saw: If significant cuts are needed
- Wedges: To prop the door in place during fitting
- Fine cut hand or panel saw: For minor adjustments
- Sandpaper: To smooth edges after cutting
- Screwdriver: To fit screws for the hinges
- Safety Equipment: Including safety goggles, dust mask and gloves
- Pencil: To mark where cuts or adjustments are needed
Interior wooden doors come in standard sizes, but ensuring one has the tools to adjust the new door to size is important for older frames that may not conform to modern standards.
You might also like – Can You Paint Composite Doors? Tips for a Fresh New Look
Safety Precautions
Prior to commencing work, safety precautions must be taken to protect oneself from potential hazards. Wearing safety goggles is crucial to shield one’s eyes from dust and debris. A dust mask should be worn to avoid inhaling particulates, and protective gloves should always be used to protect one’s hands when handling tools and materials. This safety equipment will help prevent accidents and ensure the installation process is as safe as possible.
Door Removal and Frame Preparation
Before installing a new internal door, it is critical to properly remove the existing door and prepare the door frame. This ensures a clean fit for the new door, reducing the need for excessive adjustments.
Removing the Existing Door
First remove the old door. Begin by inserting a wedge under the door to relieve pressure on the hinges. Use a screwdriver to unscrew the hinges from the door frame. If screws are tight or painted over, a chisel can be used to carefully remove paint or debris.
- Open the door slightly and place the wedge underneath to keep it steady.
- Unscrew the hinge screws while supporting the door to prevent it from falling.
Preparing the Door Frame
Once the existing door is removed, the door frame preparation can start. Architrave surrounding the frame may need to be pried away if it obstructs the new door or frame; use a wood chisel and hammer to carefully do this. Next, remove the old doorstop trim using the same tools.
For preparation:
- Inspect the frame for damage or irregularities.
- Use sandpaper or a sanding block to smooth down uneven areas.
- Clean the frame to remove dust and debris to ensure a tidy working area.
| Step | Tool | Purpose |
|---|---|---|
| Remove architrave | Wood chisel, Hammer | Clearing frame obstructions |
| Sanding | Sandpaper, Sanding block | Smoothing the frame |
| Cleaning | Cloth, Brush | Ensuring a dust-free surface |
This careful preparation allows the new door to be fitted accurately into an unobstructed, clean frame.
Fitting and Attaching the New Door

When fitting and attaching a new door, precision is key. An internal door that is accurately measured, trimmed, and finished not only enhances the aesthetic appeal of a room but also ensures privacy and efficiency in maintenance.
Sizing and Modifying the Door to Fit
To fit an internal door first measure the door frame’s height and width, then transfer these dimensions onto the new door, allowing a small clearance for smooth opening and closing. Typically, a clearance of 2mm along the sides and top and a 6mm clearance at the bottom is recommended. The new door is then trimmed using a plane or saw—hand tools like a fine cut hand saw or power tools such as a circular saw are appropriate. It’s important to clamp the door securely during this process to avoid any movement that could result in uneven cutting. When using a plane to remove excess wood in smaller increments, proceed cautiously to ensure the door does not become too small for the frame.
- Measure: Door frame’s height and width
- Transfer: Dimensions onto the new door
- Clamp: To secure the door during trimming
- Trim: With a plane or saw, considering clearance
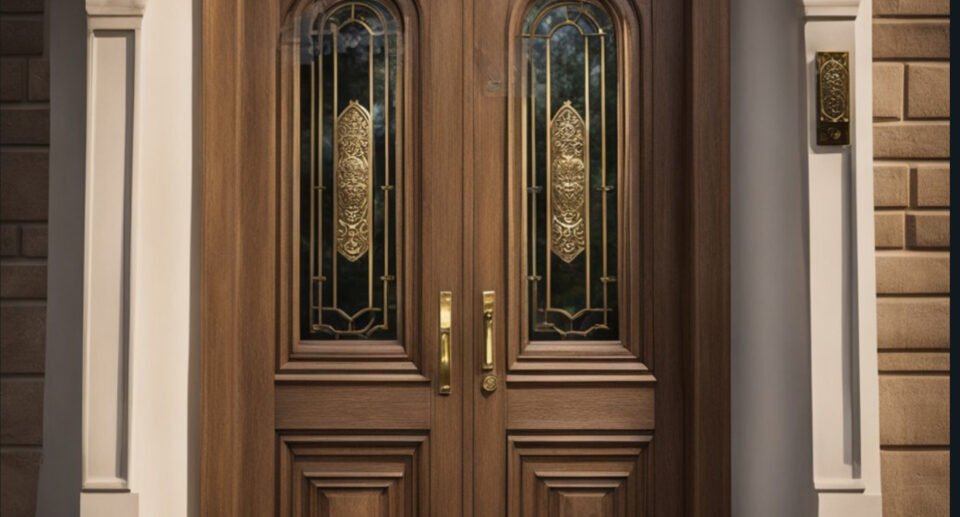
Excess wood removal should be gradual, checking the fit after each adjustment, to achieve a snug fit that allows the door to swing freely without sticking. Whether fitting a standard flush door, glazed doors, or fire doors, the principle remains the same.
Paint and Finish Before Hanging
Before installation, a new door can be painted or finished to match the room’s décor. It is more practical to paint, varnish, or stain the door before hanging it. Painting beforehand enables easier access to all edges and surfaces without the awkward positioning that can lead to missed spots or drips.
- Paint/Finish: Complete before hanging for best results
- Access: Easily cover edges and surfaces
Tip: For doors that will be painted, ensure that any trimmings to the door’s size are smooth and free from splintering for a polished final appearance. Maintenance such as painting may also protect the door from wear and extend its longevity, contributing to the overall durability of the internal doors.
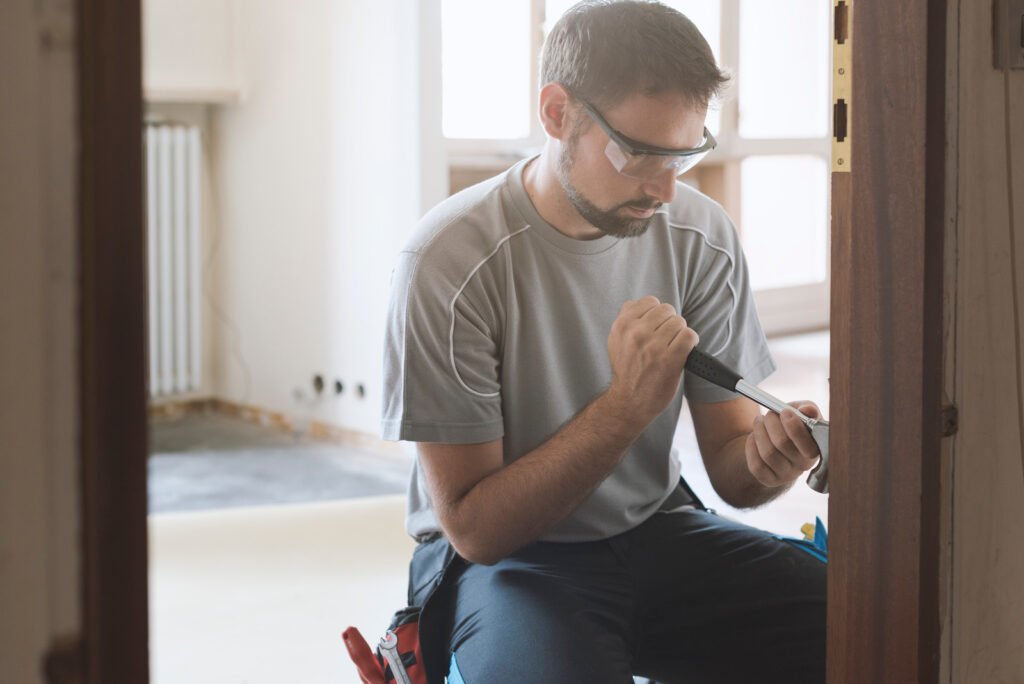
Attaching Hinges and Hardware
Properly attaching hinges and hardware is crucial to ensure that an internal door opens and closes smoothly. Utilising the correct tools and techniques can make this task straightforward for those with basic DIY skills.
Fitting Hinges to the Door
To fit hinges to the door, one must first determine the appropriate locations for the hinge plates. Generally, a standard internal door requires three hinges: at the top, middle, and bottom. Butt hinges are commonly used for internal doors. The process includes:
- Measure and mark the positions for the hinges on the door edge.
- Chisel out the hinge recesses where the hinge plates will sit, making sure they are flush with the door edge.
- Place the hinge plate into the recess and mark the screw holes with a bradawl.
- Drill pilot holes to prevent wood splitting, using a drill bit that is slightly smaller than the screw width.
- Secure the hinges into the recesses using screws and a screwdriver, ensuring they are tight and the hinge plates are flat against the surface.
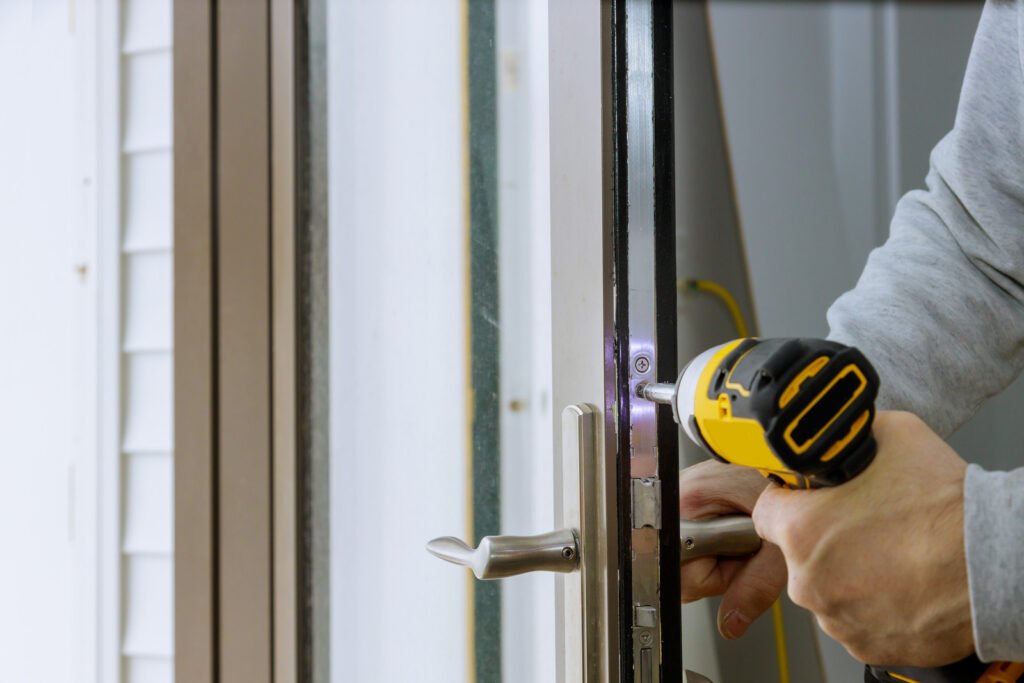
Installing Locks and Handles
Installing a latch and internal door handle requires precision to maintain both functionality and appearance. To install locks and handles:
- Mark the handle height on the door, ensuring it aligns with other doors if relevant.
- Drill the required holes for the spindle and latch, using a drill with the correctly sized bit.
- Insert the latch into the side hole of the door, fastening it with screws.
- Slide the spindle through the hole in the latch mechanism.
- Align the internal door handles on both sides of the door with the spindle.
- Secure the handles with screws through the faceplate, ensuring they are tight and the handle operates smoothly.
Throughout this procedure, ensure support for the door to prevent it from falling and causing damage. Masking tape can be used to protect the door’s surface when marking or drilling. A wooden mallet may assist when fitting the hinge plates to ensure a snug fit without damaging the door. Use a screwdriver or a drill with a screwdriver bit to install screws accurately.
Hanging the Door and Final Touches
In the crucial stages of hanging an internal door, attention to detail is paramount. A door that has been properly aligned, securely fixed, and given the appropriate finishing touches can significantly enhance both functionality and appearance.
Properly Aligning and Securing the Door
Before securing the door to the frame, one must ensure that the door’s dimensions correspond perfectly to the opening. Trim any excess with a plane and sanding block for a snug fit. It’s critical to mark the locations for the hinges accurately on both the door and the frame. Once these positions are confirmed, the recesses for the hinges can be chiselled out. With the door propped level, screw in the hinges using a screwdriver or drill, starting with the middle screw of each hinge to allow some adjustability.
Fitting the Architrave and Doorstop
The doorstop and architrave are fitted after the door is swinging smoothly on its hinges. The doorstop is a strip of wood which is nailed or screwed into the frame to stop the door at the correct position when closed. The architrave serves as a decorative trim, giving a neat finish between the wall and door frame. Precise marking and cutting at the correct angles ensure a seamless fit, and any gaps can be filled in and sanded for a polished look.
Final Inspection and Maintenance Tips
After the door and its trimmings are in place, conduct a thorough inspection to make certain everything is level and operates without hindrance. Adjust the screws on the hinges if needed to correct any misalignment. With a handyman‘s eye, scrutinise all finishing touches, making sure the door handle and lock mechanism work correctly. Fo ongoing maintenance, periodically tighten the screws and lubricate the hinges to ensure smooth operation.
Frequently Asked Questions
In this section, one will discover essential information regarding the installation of internal doors, from the necessary tools to the specific methods for fitting frames and door hardware.
What tools are required for fitting an interior door?
The installation of an interior door requires a selection of tools including a screwdriver, mallet, screws, and a marking tool such as a pencil for accurate measurements. One may also need additional tools like a saw for trimming the door to size.
What is the correct procedure to install a door handle on an interior door?
To install a door handle, first mark the specific location on the door where the handle is to be placed. After making a pilot hole, affix the handle securely using screws, ensuring alignment for smooth operation.
How can you fit a new door frame for an internal door?
Fitting a new door frame involves carefully measuring the doorway, cutting the frame pieces to the correct size, and assembling them in place. This process includes checking for accuracy with a level and securing the frame with fixings.
What are the steps to hang a door onto an existing frame?
Hanging a door onto an existing frame involves aligning the door with the frame, temporarily securing it in place, and screwing the hinges into the door and frame. One must ensure that the door swings freely and closes properly.
Is it possible for someone to fit internal doors themselves, and what should they consider?
It is possible for an individual to fit internal doors themselves. They should consider their level of DIY competence, the availability of the correct tools, and adhere to precise measurements for a proper fit.
Which direction should an internal door swing, and how can you determine this?
The direction in which an internal door should swing is usually determined by the layout of the room and the position of the furniture. It should not obstruct the room’s flow or open into a narrow hallway where it can become an obstacle.

Hello, I’m Keith Jones. I’m the author and head of content here of door and window guide. I’ve been in the window and door industry for over 10 years in the UK and North America. I’ve had quite a few roles during my career mainly in Worldwide sales. I’m now semi retired so I thought I’d put my knowledge to good use educating people about all they might need to know about door and window related topics.