How to Switch a Door from Right-Opening to Left-Opening: A Step-by-Step Guide
Switching the direction of a door’s swing is a common home improvement project that can be done without professional help. Changing a door from right-opening to left-opening, or vice versa, can be necessary for a variety of reasons, including improving the flow of traffic in a room or accommodating a new furniture arrangement.
Before beginning the project, it is important to determine the type of door and its swing direction. A right-handed door has the doorknob on the right side when viewed from the outside, while a left-handed door has the doorknob on the left side. The swing direction refers to whether the door swings in or out of the room when opened.
Once the type of door and swing direction are determined, the project can begin.
There are several steps involved in switching a door from right-opening to left-opening. These steps include removing the door from its hinges, filling the old hinge holes with wood putty, and drilling new holes for the hinges on the opposite side of the door frame. The door handle and lock will also need to be moved to the opposite side of the door.
With the right tools and some patience, switching the direction of a door’s swing can be a straightforward and rewarding home improvement project.
Preparation and Tools Required
Gathering Necessary Tools
Before starting the process of switching the door from right-opening to left-opening, it is essential to gather all the necessary tools.
The following tools are required to complete the task:
- Screwdriver
- Pencil
- Measuring tape
- Drill bit
- Sawhorses
- Putty knife
Make sure that all the tools are in good condition and functioning correctly. It is also essential to wear protective gear, such as gloves and goggles, to avoid any injuries during the process.
Measuring and Assessing the Door
The next step is to measure and assess the door to determine the necessary changes required to switch the door from right-opening to left-opening.
The following steps should be followed:
- Measure the width and height of the door to ensure that it fits the opening correctly.
- Check the hinges on the door and the door frame to determine the type and size of the hinges required for the new door opening direction.
- Assess the location of the door handle and lock to determine if it needs to be moved to the opposite side of the door.
- Use a pencil to mark the location of the new hinges and latch on the door and the door frame.
Once the measurements and assessments are complete, the next step is to remove the door and start making the necessary changes to switch the door from right-opening to left-opening.
Disassembling the Door
Switching the swing direction of a door from right to left or vice versa requires disassembling the door. This process involves removing the door handle and detaching the hinges from the door frame.
Removing the Door Handle
The first step in disassembling the door is to remove the door handle.
To do this, the user needs a screwdriver to unscrew the screws holding the handle in place. Once the screws are removed, the handle can be pulled off the door.
It is important to keep the screws in a safe place to avoid losing them.
Detaching the Hinges
After removing the door handle, the next step is to detach the hinges from the door frame.
The user needs to remove the hinge pins by tapping them out with a screwdriver and a hammer. The hinge pins are located at the top and bottom of each hinge.
Once the pins are removed, the door can be lifted off the hinges.
It is important to note that the user needs to be careful when detaching the hinges to avoid damaging the door or the frame. The user should also keep the hinge pins in a safe place to avoid losing them.
Reversing the Door Hardware
Switching a door’s swing direction from right-opening to left-opening involves reversing the door hardware. Here are the steps to follow:
Adjusting Hinge Locations
First, remove the door from its hinges using a screwdriver.
Then, using a chisel, remove the hinge mortises from the old hinge location on the jamb.
Next, using a pilot hole, drill new hinge mortises on the opposite side of the jamb.
Finally, attach the hinges to the new mortises using screws and a screwdriver.
Repositioning the Door Lock
To reposition the door lock, remove the latch and deadbolt from the door using a screwdriver.
Then, using a chisel, remove the old mortises from the door edge.
Next, using a pilot hole, drill new mortises on the opposite edge of the door.
Finally, reattach the latch and deadbolt to the new mortises using screws and a screwdriver.
It is important to note that the door handle and knobs may need to be repositioned as well, depending on the type of lock and handle used.
Additionally, any holes left by the old lock and handle should be filled with glue and wood filler to ensure a smooth surface.
Finishing Touches
After successfully switching the door swing from right-opening to left-opening, there are a few finishing touches that need to be done to make sure the door looks and functions properly.
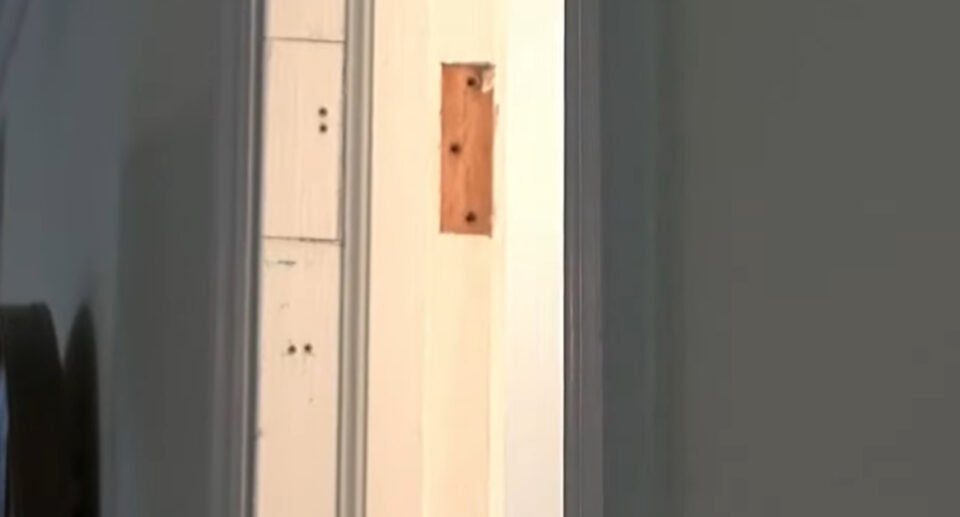
Patching and Painting
One important step is to patch up any holes or marks left by the previous door hinges and latch.
This can be done using wood glue and sandpaper to fill in any gaps or cracks in the door frame.
Once the glue has dried, sand the surface smooth and paint over it to match the rest of the door frame.
Reinstalling and Testing Door Swing
The next step is to reinstall the door.
Begin by attaching the top hinge to the door frame, followed by the middle and bottom hinges. Make sure to use screws that are long enough to securely attach the hinges to the door frame.
After the door is reinstalled, test the door swing to ensure it opens and closes smoothly.
Check the door sweep to make sure it is properly aligned and seals the bottom of the door. Lastly, test the striker and striker plate to make sure they are aligned and the door latches properly.
Conclusion
Switching a door from right-opening to left-opening is a relatively straightforward process that requires some basic tools and a little bit of patience.
By following the steps outlined in this article, homeowners can save money on hiring a professional and enjoy the satisfaction of completing a DIY project.
When choosing the right tools, make sure to have a drill with a screwdriver bit, a chisel, and a hammer. Homeowners should also have a tape measure on hand to ensure that the new hinges and latch are installed in the correct position.
It is important to note that switching a door’s opening direction is a simple process, but it does require some precision and attention to detail. Homeowners should take their time when removing the old hinges and latch and installing the new ones to ensure that everything is aligned correctly.
With the right tools and a little bit of know-how, homeowners can easily switch their door from right-opening to left-opening and enjoy the benefits of a more functional and aesthetically pleasing space.

Hello, I’m Keith Jones. I’m the author and head of content here of door and window guide. I’ve been in the window and door industry for over 10 years in the UK and North America. I’ve had quite a few roles during my career mainly in Worldwide sales. I’m now semi retired so I thought I’d put my knowledge to good use educating people about all they might need to know about door and window related topics.